How to Hang Flag Net Lights on Your Lawn, Fence, or Window
Installing net lights is one of the fastest ways to cover large outdoor areas with bright, uniform patriotic illumination. Follow this simple guide to securely install your lights on hedges, fences, or windows.
Step 1: Prepare Your Display Site
Select the area where you plan to showcase your product, such as a garden hedge, wooden fence, or front window. Ensure the space accommodates dimensions of Large Size: 6.5ft x 3.28ft. For additional placement inspiration, check the main guide on yard lighting.
Step 2: Unfold and Position the Net Light

Photo by Deane Bayas on Pexels
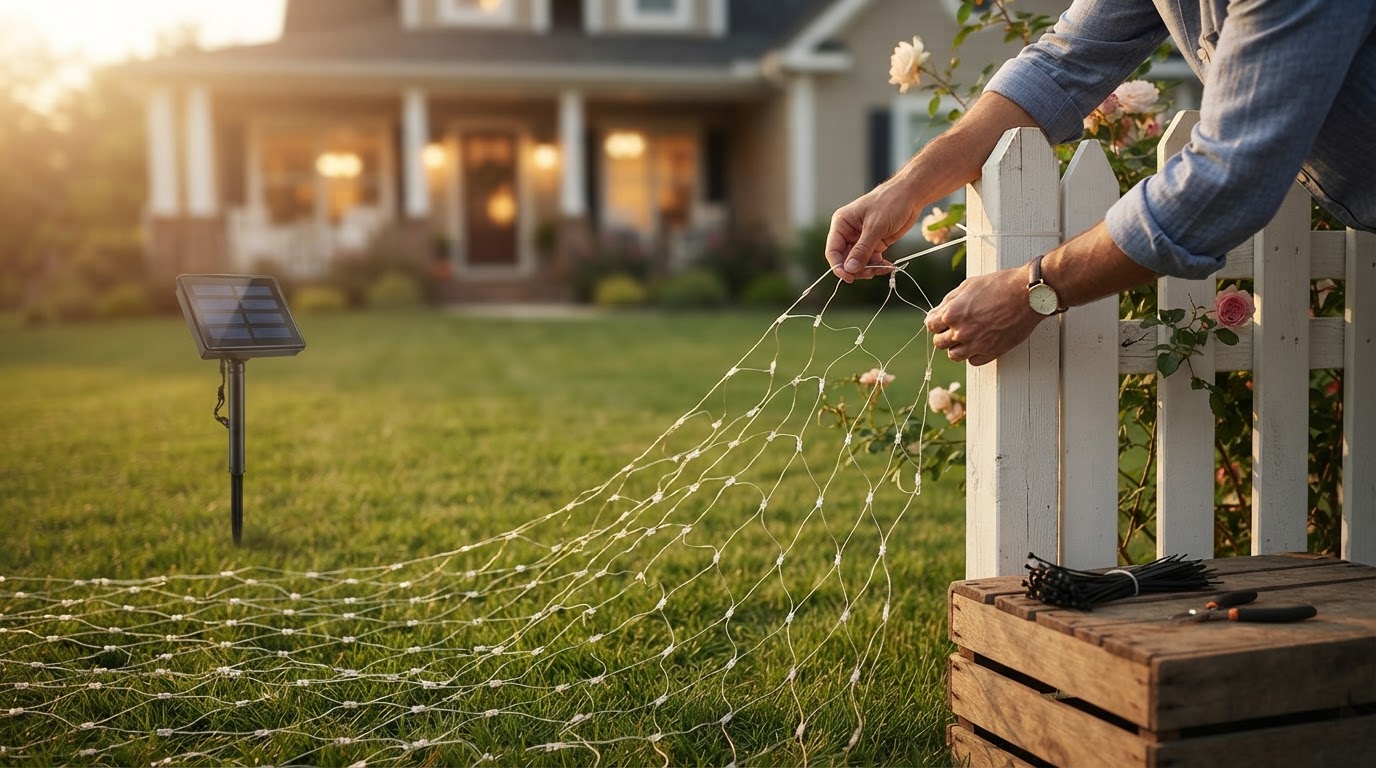
Unpack the American Flag Net Lights gently and unfold the mesh network on a flat surface to eliminate tangles. Lift the net by its upper corners and position it across your chosen structure, making sure the red, white, and blue pattern of 420 Super Bright LEDs faces outward correctly.
Step 3: Secure the Lights and Power Source
Attach the net using zip ties for fences, suction hooks for windows, or ground stakes for hedge bases. Verify that the unit is safely installed, keeping in mind its IP65 Waterproof for outdoor use construction protects against rainy weather. Position the power module to collect sunlight when using Solar & USB Dual Power Supply, or attach a USB extension if charging manually.Step 4: Program Settings Using the Remote Control

Photo by quang vinh on Pexels
Once mounted, test the built-in automatic behavior driven by Auto On at night / Auto Off at day. Use the included remote control to configure your favorite patterns via 8 Lighting Modes with Remote Control, adjusting intensity levels and operational runtimes using Brightness Adjustment & Timing Settings to complete your set-up.
Read the full guide: Ultimate Guide to Outdoor Patriotic Decoration Ideas for Every Holiday